
Thought I would up my bed side table game by hopping on the marble trend in the least expensive way possible. Considering marble will be out of trend within the next few years, I wanted to do something that would cost me next to nothing. I have been contemplating ordering marble contact paper for a few months now but some rolls cost up to $50 on Etsy which is ridiculous since my side table was probably less than half that price!
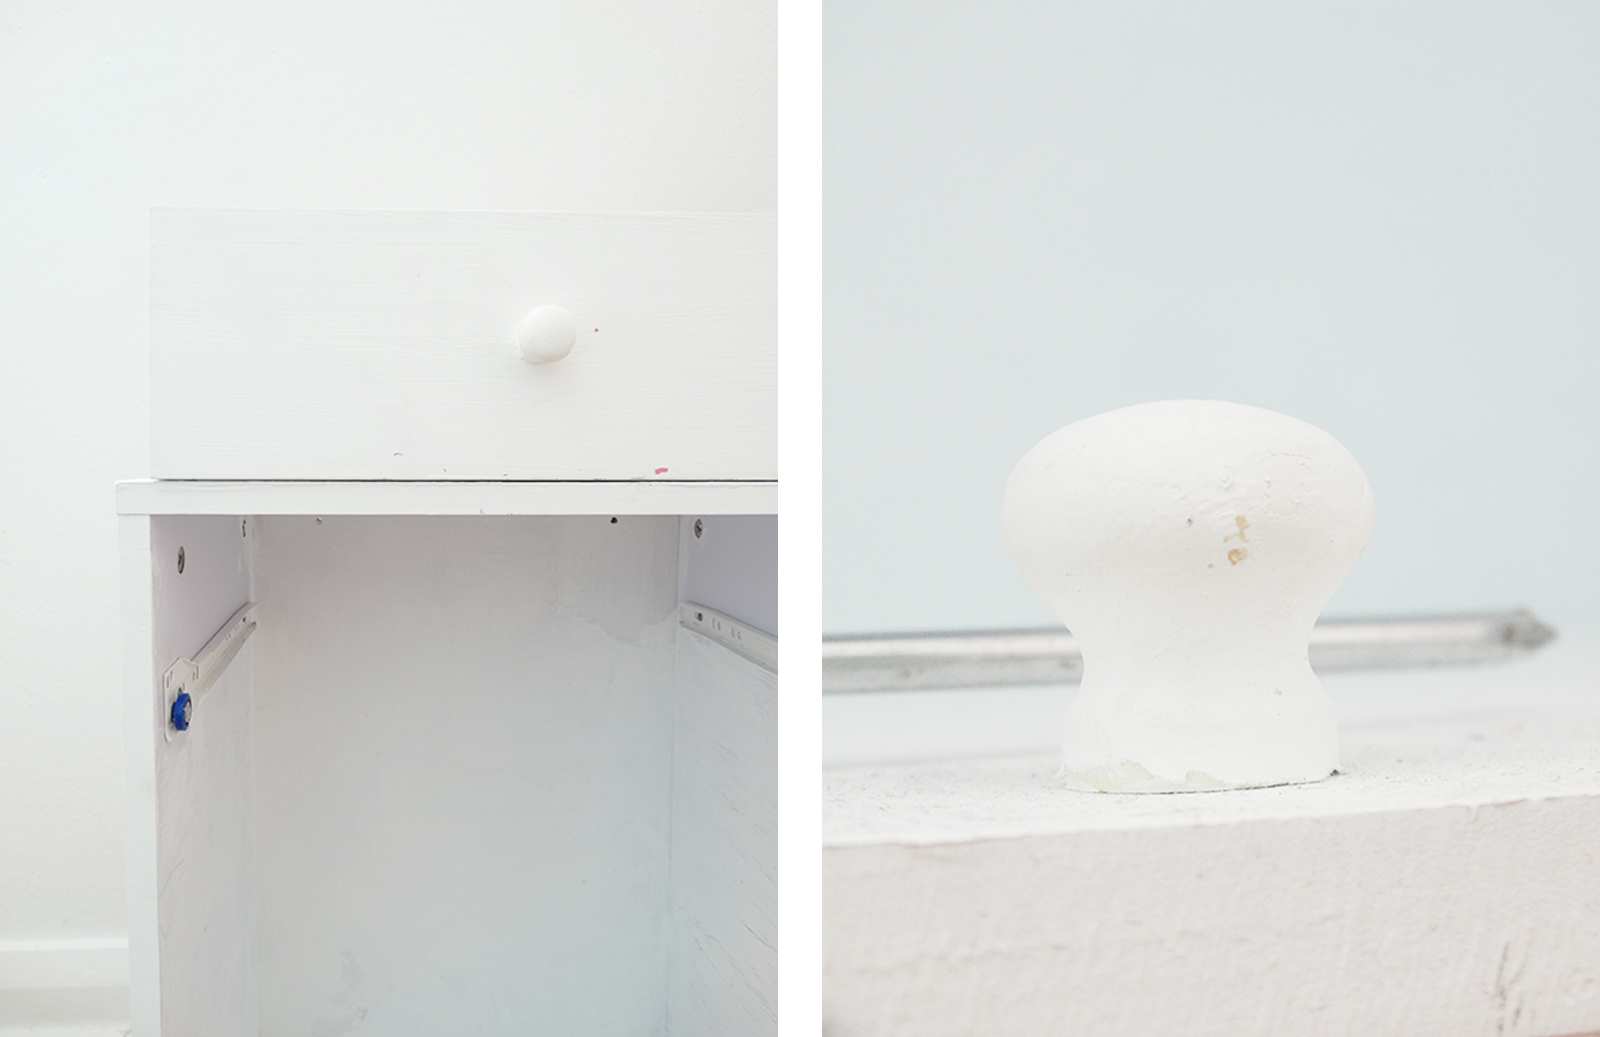
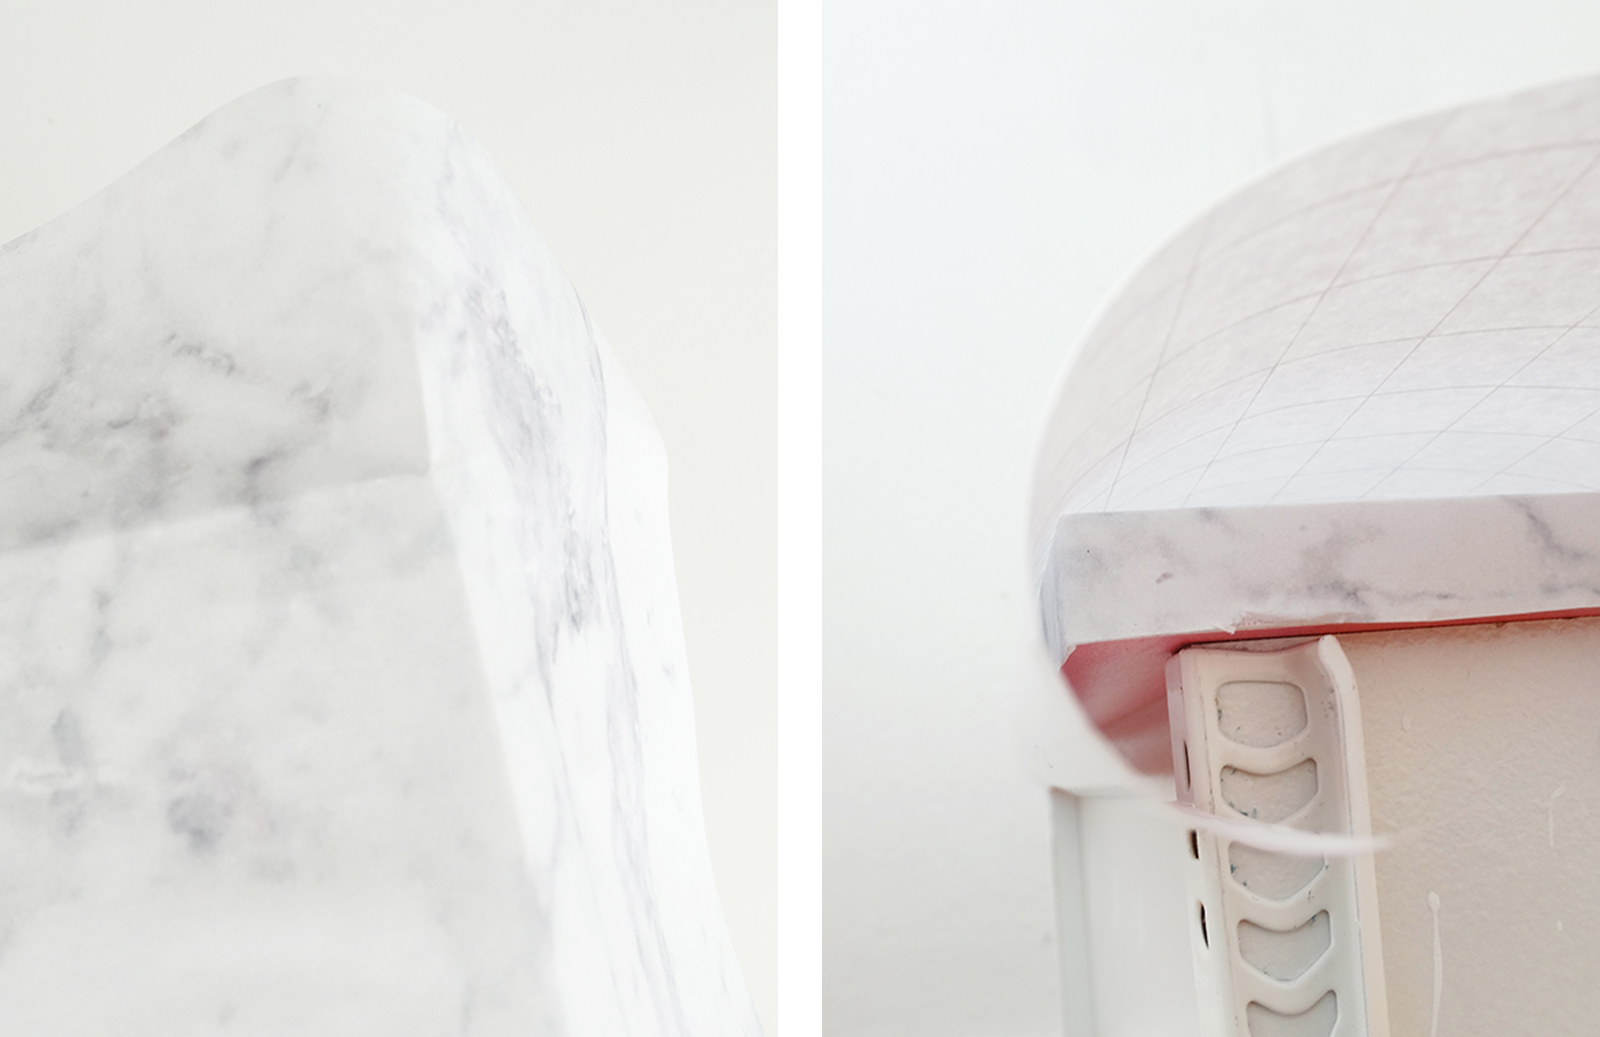
ONE To create this side table, print off several copies of this marble print (download here). Take out your drawer and unscrew the knob. TWO Then, trim off the whites of your marble paper and affix it to the surface of your drawer using a gluestick. THREE Neatly, cut away all excess paper and fold it behind. FOUR Measure a piece of contact paper large enough to cover the surface of the drawer and the edges too. FIVE Slowly peel back the contact backing and smooth it over your drawer. If you fail at contacting surfaces, maybe practice contacting some old magazines to ensure your final product is always bubble free. SIX Trim off excess contact and re-pierce the hole where the knob is meant to go. SEVEN Screw knob back into place and you are finished! EIGHT (option lol) Artfully style your DIY, take many photographs and boast to family and friends 😉 Make sure they always stand 5 metres away so they can’t tell if its actually marble or not.
OPTIONAL: Before attempting this side table, I actually made a jewellery holder first. I printed off the marble sheets, glued them to card stock, contacted the whole thing and affixed it to my cork board using white push pins.


You’re so freakin creative, I love it!
LikeLike
Thanks Dana !
LikeLike
This looks really beautiful!
http://sarawritesadiary.blogspot.com/
LikeLike
Thank You Sara x
LikeLike
Karen i love this idea!
so smart and economical and creative and arghh aesthetics on point 😉 when i saw the first image i legit thought it was real marble hehe
amazing job ❤ 🙂
xx Jess
LikeLike
Hi Jess! Getting that business jargon on, eh? Thanks so much xx How has your break been?
LikeLike
This honestly looked like real marble in the photos. Nicely done!
https://forsevenseasons.wordpress.com
LikeLiked by 1 person
Thanks 🙂
LikeLike
I loved this DIY – So easy and looks fantastic!!
http://shepetite.com/
LikeLiked by 1 person
Thanks so much xx
LikeLike
Lovely post dear!
Have a great weekend ❤
http://www.adelaacanski.com/
LikeLiked by 1 person
Thank you Adela xx
LikeLike
This is great 💪🏻
kthrnvergara.wordpress.com
LikeLike
wow that is so cool! Come check out my blog http://www.poshandspicy.com xx
LikeLike